old mtd riding mower repair manual pdf free download
Article Plan: Old MTD Riding Mower Repair Manual PDF Free Download
This comprehensive guide details locating free PDF repair manuals for older MTD riding mowers, navigating online resources,
and understanding model numbers for accurate repairs, alongside potential risks and alternatives․
We’ll explore Polymarket’s influence on information seeking, media coverage of prediction markets, and the importance of reliable repair documentation․
Maintaining an older MTD riding mower often hinges on access to reliable repair information․ Finding a dedicated repair manual, especially in PDF format and free of charge, can be a significant challenge for owners․ These mowers, while durable, require periodic maintenance and occasional repairs to ensure continued functionality․

This article serves as a guide to navigating the often-complex landscape of online resources, specifically focusing on locating free PDF repair manuals for older MTD models․ We’ll explore official MTD resources, the Internet Archive, and valuable online forums like My Tractor Forum and Green Tractor Talk․
Understanding the MTD model numbering system is crucial for pinpointing the correct manual; Furthermore, we’ll address potential pitfalls of using unofficial manuals and discuss viable paid alternatives when free options prove insufficient․ The current state of prediction markets, like Polymarket, and their impact on information accessibility will also be briefly considered․
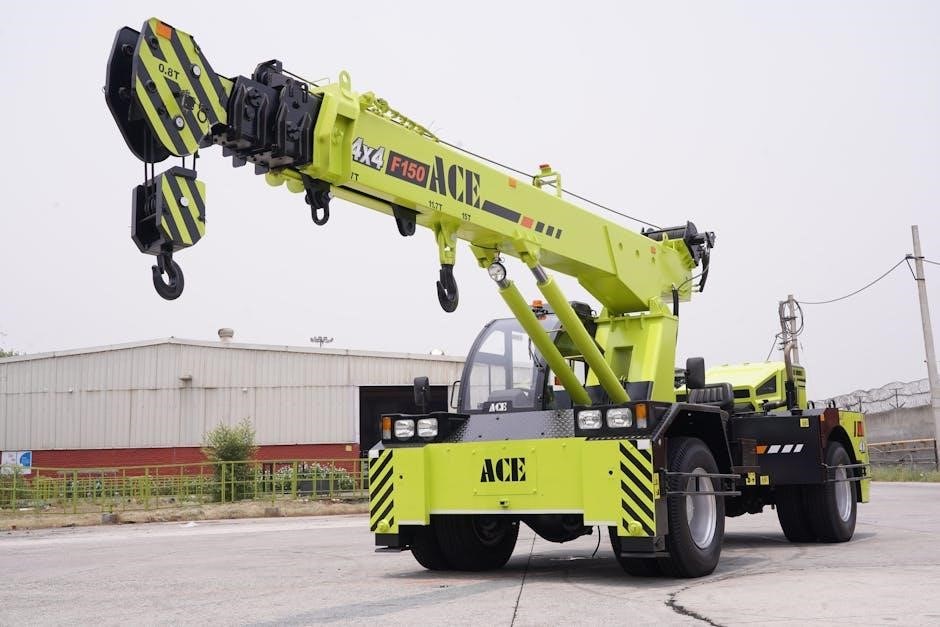
What is an MTD Riding Mower?
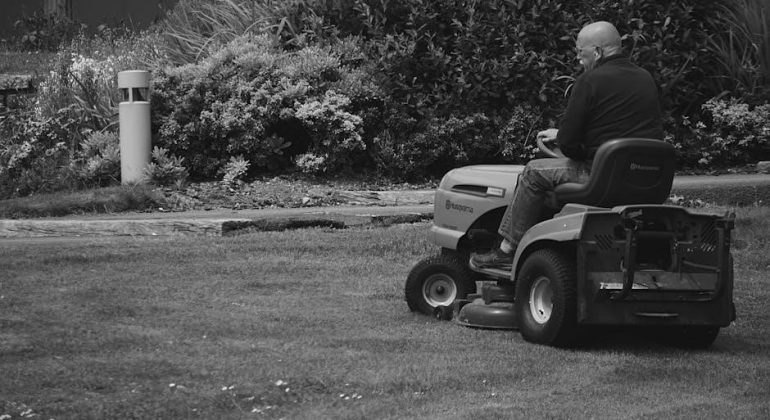
MTD Products Inc․ is a leading global manufacturer of outdoor power equipment, and their riding mowers are a common sight in yards across America․ Established in 1932, MTD produces mowers under various brand names, including Cub Cadet, Troy-Bilt, and Huskee – often making identification tricky․ These mowers range from basic, affordable models to more sophisticated, feature-rich machines․
Older MTD riding mowers, particularly those manufactured several decades ago, are known for their relatively simple designs and robust construction․ However, finding parts and repair information for these vintage models can be difficult․ The availability of original repair manuals is often limited, necessitating resourceful searching․

Understanding that MTD manufactures for multiple brands is key when seeking repair resources․ A Huskee mower, for example, may share many components with a Troy-Bilt, meaning a manual for one could be helpful for the other․ This interconnectedness impacts the search for accurate PDF documentation․
Why You Need a Repair Manual
Attempting to repair an MTD riding mower without a dedicated manual is risky․ These manuals provide crucial, step-by-step instructions, detailed diagrams, and safety precautions essential for successful repairs․ They cover everything from basic maintenance like blade sharpening to complex tasks like engine overhaul or transmission adjustments․
A repair manual ensures you understand the mower’s specific components and how they interact․ Incorrectly performed repairs can lead to further damage, costly replacements, or even personal injury․ Access to accurate torque specifications and wiring schematics is invaluable․
For older models, original manuals are particularly important as online resources may be incomplete or inaccurate․ Having the correct documentation minimizes guesswork and maximizes the chances of a safe and effective repair, saving both time and money in the long run․
The Challenges of Finding Free PDF Manuals
Locating free PDF repair manuals for older MTD riding mowers presents several hurdles․ MTD, like many manufacturers, doesn’t always readily provide free digital copies of manuals for older, discontinued models․ Many websites offering “free” downloads are unreliable, containing incomplete, inaccurate, or even malicious files․
Copyright restrictions also limit the availability of freely distributed manuals․ While some sites archive older documentation, access can be intermittent or require registration․ The sheer volume of MTD models produced over the years further complicates the search, requiring precise model number identification․
Furthermore, the quality of scanned or digitally converted manuals can vary significantly, making diagrams difficult to read and instructions unclear․ Users must exercise caution and verify the authenticity of any downloaded manual before attempting repairs․
Where to Look for Free MTD Repair Manuals
Several online resources offer potential access to free MTD riding mower repair manuals․ The MTD Official Website maintains a manuals section, though coverage of older models is limited․ The Internet Archive is a valuable repository, sometimes hosting scanned copies of vintage MTD manuals, including the MTD 660 thru 679 user manual․
Online forums like My Tractor Forum and Green Tractor Talk are excellent communities where users share manuals and repair information․ Green Tractor Talk also provides links to parts resources like Outdoor Power Equipment Parts․ A focused search using the specific model number is crucial on these platforms․
Remember to carefully vet any downloaded file for viruses and accuracy before relying on its instructions for repairs․
MTD Official Website – Manuals Section
The MTD Products official website offers a dedicated manuals section as a primary source for repair documentation․ However, locating manuals for older MTD riding mowers can be challenging․ The website’s focus tends to be on current production models, meaning comprehensive archives for vintage tractors are often incomplete․
Users typically navigate by entering the full model number of their mower․ While this system works well for recent models, older numbers may not be recognized or linked to available PDFs․ It’s worth checking even if the initial search is unsuccessful, as listings can be updated․
Despite limitations, the official website remains a reliable starting point, offering potentially accurate and manufacturer-approved information when available․
Internet Archive – MTD Manuals
The Internet Archive is a valuable resource for locating digitized copies of older MTD riding mower repair manuals․ This non-profit digital library offers a vast collection of scanned documents, including owner’s manuals, service guides, and parts lists that may no longer be available elsewhere․
Searching the Internet Archive requires specific keywords, such as “MTD riding mower manual PDF” combined with relevant model numbers or years․ The site allows users to borrow or download materials, though access may depend on the specific item and user account․
Notably, the Internet Archive is currently requesting publishers restore access to 500,000 books, highlighting its commitment to preserving information․ It’s a crucial platform for finding potentially rare or out-of-print manuals․
Online Forums – My Tractor Forum & Green Tractor Talk
Online forums dedicated to tractors and outdoor power equipment, specifically My Tractor Forum and Green Tractor Talk, are excellent communities for sourcing MTD riding mower repair manuals․ Users frequently share PDF downloads of service data and manuals, creating a collaborative resource․
Green Tractor Talk is particularly noted for its parts resources, including links to suppliers for steering assembly components․ My Tractor Forum boasts a substantial library of free downloadable service information for various equipment types․
A recent forum post illustrates a user seeking a repair manual for a Huskee mower, having already found the owner’s manual and parts sheet, but still needing detailed repair instructions․ These forums offer peer-to-peer support and manual sharing․

Specific Model Number Search Strategies
Successfully locating a free MTD riding mower repair manual hinges on utilizing precise model number search strategies․ Generic searches often yield irrelevant results, so pinpointing the exact model is crucial․ Begin by locating the model number plate, typically found on the mower’s frame․

Once identified, incorporate the full model number into search engine queries, alongside terms like “repair manual PDF” or “service manual download․” Experiment with variations, including partial numbers if the complete number is unclear․

Understanding the MTD model number system (detailed elsewhere in this guide) will further refine searches․ Combining the model number with forum names like “My Tractor Forum” can also direct you to relevant discussions and shared manuals․
Understanding MTD Model Numbers
MTD model numbers are not random; they contain coded information vital for identifying your specific mower and locating the correct repair documentation․ These numbers typically consist of a combination of letters and digits, revealing manufacturing details and specifications․

The initial digits often indicate the year of manufacture, while subsequent characters denote the specific model and any revisions․ Recognizing this structure allows for more targeted searches․ For example, knowing a number sequence signifies a particular engine type narrows down compatible manuals․
Decoding the system is key to avoiding incorrect manuals, which can lead to improper repairs․ Resources like online forums and the MTD official website offer guidance on interpreting these numbers, ensuring accurate identification․
Decoding the MTD Model Number System
The MTD model number system, while seemingly complex, follows a logical pattern․ Typically, the first few digits represent the year of manufacture, providing a crucial starting point for identifying the mower’s age․ Subsequent characters detail the specific model and any engineering revisions applied during production runs․
Understanding these segments is essential for pinpointing the correct repair manual․ For instance, a series of numbers following a letter might indicate engine specifications or transmission type․ This granular detail ensures compatibility between the manual and your mower․
Online resources, particularly dedicated forums like My Tractor Forum and Green Tractor Talk, often host detailed breakdowns of the MTD numbering system, assisting in accurate decoding․
Using the Model Number to Find the Correct Manual
Once you’ve decoded your MTD riding mower’s model number, the search for the corresponding repair manual becomes significantly more focused․ Begin with the MTD official website’s manuals section, inputting the complete model number into their search bar․ This often yields direct links to downloadable PDF versions․
If the official site proves unsuccessful, leverage the Internet Archive․ Utilize advanced search operators, including the full model number within quotation marks, to refine results․ Online forums, such as Green Tractor Talk, are invaluable; members frequently share direct links or offer guidance․
Remember to verify the manual’s compatibility by cross-referencing the model number listed within the document itself․
Common MTD Riding Mower Repair Issues
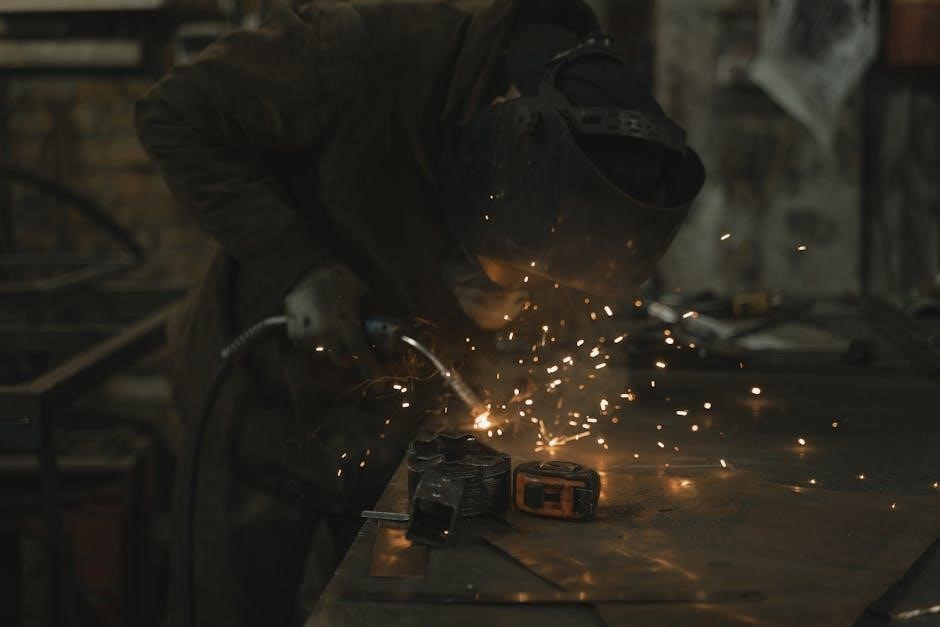
Older MTD riding mowers frequently exhibit a handful of recurring problems․ Engine issues, such as difficulty starting or inconsistent running, are common, often stemming from carburetor problems or spark plug failures․ Blade sharpening and replacement are routine maintenance tasks, crucial for optimal cutting performance․
Transmission problems, including slipping or failure to engage, require careful diagnosis and potentially component replacement․ Steering assembly repairs, particularly addressing loose connections or worn parts, are also frequently needed․
A repair manual is essential for tackling these issues, providing detailed diagrams and step-by-step instructions․ Addressing these common repairs proactively extends the mower’s lifespan and ensures safe operation․
Engine Problems – Troubleshooting
MTD riding mower engine issues often begin with difficulty starting․ Check the fuel supply, ensuring fresh gasoline and a clear fuel line․ A clogged carburetor is a frequent culprit, requiring cleaning or rebuilding․ Inspect the spark plug for fouling or damage, replacing it if necessary․
If the engine starts but runs poorly, investigate the air filter for obstructions and the fuel filter for clogging․ Low oil levels can also cause performance issues; always maintain proper lubrication․ A repair manual’s diagrams are invaluable for identifying components․
Consistent troubleshooting, guided by a PDF manual, will pinpoint the root cause and restore engine performance․ Remember safety precautions when working with fuel and electrical systems․
Blade Sharpening and Replacement
Maintaining sharp mower blades is crucial for a clean cut and healthy lawn․ Dull blades tear grass, leading to brown tips and increased disease susceptibility․ Regularly inspect blades for wear, damage, and imbalance․

Sharpening can be done with a file, grinder, or blade balancing tool․ Always disconnect the spark plug before working on the blades․ A repair manual PDF provides torque specifications for proper blade installation․ Ensure blades are securely fastened to prevent accidents․
If blades are severely damaged or worn, replacement is necessary․ Use the correct blade type for your MTD model․ Following the manual’s instructions guarantees safe and effective blade maintenance․
Transmission Issues – Identification & Repair
Transmission problems in older MTD riding mowers often manifest as slipping, jerking, or a complete lack of movement․ Identifying the transmission type – hydrostatic or gear-driven – is the first step․ A detailed repair manual PDF is invaluable for diagnosing specific issues․
Hydrostatic transmissions may require fluid level checks and filter replacements․ Gear-driven transmissions might involve inspecting and adjusting linkages or replacing worn gears․ Always consult the manual for fluid types and torque specifications․
Complex repairs often necessitate specialized tools and expertise․ Consider seeking professional assistance if you’re uncomfortable disassembling the transmission․ Proper diagnosis, guided by the manual, prevents further damage and ensures a functional repair․
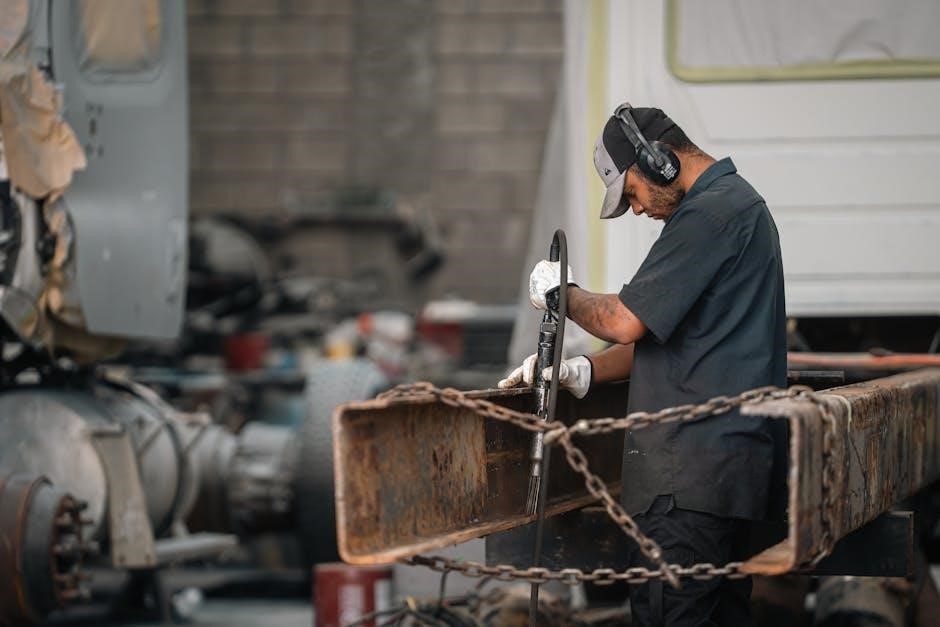
Steering Assembly Repair – Parts & Resources
Repairing the steering assembly on an older MTD riding mower often involves addressing loose connections, worn tie rod ends, or a damaged steering sector․ A repair manual PDF provides exploded diagrams crucial for understanding the assembly and identifying parts․
Resources like “Outdoor Power Equipment Parts” (as mentioned in forum discussions) are excellent for sourcing replacement components․ The MTD Parts Finder Tool, accessible online, helps pinpoint the correct parts based on your mower’s model number․

Common repairs include tightening steering linkages and replacing worn bushings․ Always prioritize safety; ensure the mower is securely supported before working on the steering system․ Refer to the manual for torque specifications to avoid over-tightening and damaging components․
Navigating a Repair Manual PDF
Successfully utilizing a PDF repair manual for your old MTD riding mower requires understanding its structure․ Most manuals begin with safety precautions, followed by detailed parts lists and exploded views․ Familiarize yourself with the table of contents to quickly locate relevant sections․
Pay close attention to diagrams and schematics; these visually represent the mower’s components and their relationships․ Zooming in on the PDF is often necessary for clarity․ Utilize the search function (Ctrl+F) to find specific parts or procedures․
Understanding the manual’s notation and symbols is crucial․ Torque specifications, fastener sizes, and special instructions are often indicated with specific markings․ A well-organized manual will streamline the repair process;
Understanding Diagrams and Schematics
MTD riding mower repair manuals heavily rely on diagrams and schematics for visual guidance․ These aren’t just pictures; they’re technical representations of the mower’s systems․ Exploded views show how parts fit together, crucial for reassembly․ Wiring diagrams illustrate electrical connections, vital for engine and electrical troubleshooting․
Schematics use symbols to represent components – learn these symbols! Pay attention to line weights and styles; they indicate connections and relationships․ Reference the parts list alongside the diagram to identify each component․
Digital PDFs allow zooming for detailed inspection․ Don’t hesitate to print sections for easier reference during the repair․ Mastering these visuals significantly improves repair accuracy and efficiency․

Safety Precautions When Repairing
Repairing an MTD riding mower involves inherent risks; prioritize safety above all else․ Always disconnect the spark plug wire before performing any maintenance to prevent accidental starting․ Wear safety glasses to protect your eyes from debris․ Use gloves to shield your hands from sharp edges and chemicals․
Never work under a mower supported only by a jack – use sturdy jack stands․ Ensure the mower is on a level surface before beginning․ Be cautious when handling fuel; work in a well-ventilated area and avoid open flames․ Properly dispose of used oil and fluids according to local regulations․
If you’re uncomfortable with any repair, consult a qualified mechanic․ Ignoring safety precautions can lead to serious injury․
Tools Required for Common Repairs
Successfully repairing your old MTD riding mower demands a basic toolkit․ Essential items include a socket set and wrench set (both metric and standard) for disassembling components; A torque wrench is crucial for tightening bolts to the correct specifications․ You’ll also need screwdrivers (Phillips and flathead) of various sizes․
Pliers (regular and needle-nose) are helpful for gripping and manipulating parts․ A multimeter is vital for diagnosing electrical issues․ For blade work, a blade balancer and file are necessary․ Jack stands are non-negotiable for safe lifting․ Don’t forget penetrating oil to loosen rusted bolts and a drain pan for fluids․
Having these tools readily available will streamline the repair process and ensure a professional result․
Potential Risks of Using Unofficial Manuals
Relying on unofficial MTD riding mower repair manuals carries inherent risks․ Inaccurate information is a primary concern; errors in diagrams or procedures can lead to improper repairs and further damage to your mower․ This can result in costly mistakes and potentially dangerous operating conditions․
Copyright concerns also exist, as distributing copyrighted material without permission is illegal․ Furthermore, unofficial manuals may lack crucial safety warnings or updates found in official documentation․ Using outdated or incomplete information can compromise the longevity and safe operation of your equipment․
Always verify information and proceed with caution when utilizing sources outside of MTD’s official channels․
Inaccurate Information and Damage
The proliferation of free, unofficial MTD riding mower repair manuals online presents a significant risk of inaccurate information․ Errors in wiring diagrams, parts lists, or repair procedures can lead to misdiagnosis and incorrect repairs, potentially causing further damage to your mower․ This can escalate a simple fix into a major, expensive overhaul․
Incorrect torque specifications or improperly identified parts can result in component failure or even safety hazards․ Damage to the engine, transmission, or steering assembly are all possible consequences of following flawed instructions․ Always cross-reference information from multiple sources and prioritize official MTD documentation whenever possible to mitigate these risks․
Proceed with extreme caution and understand the potential for costly mistakes․
Copyright Concerns and Legality
Downloading and distributing copyrighted MTD riding mower repair manuals without authorization raises significant legal and ethical concerns․ While many free PDF manuals are available online, their origin and legality are often questionable․ MTD, as the original creator, retains exclusive rights to its documentation․
Unauthorized reproduction and sharing of these manuals infringe upon MTD’s intellectual property rights, potentially leading to legal repercussions for those involved in the distribution․ The Internet Archive, while offering access to vast resources, acknowledges the importance of respecting copyright and requests publishers to restore access when issues arise․
Consider the ethical implications and potential legal ramifications before downloading or sharing unofficial manuals․ Opting for legitimate, paid options ensures compliance with copyright laws and supports the manufacturer․
Alternatives to Free Manuals – Paid Options
While free MTD riding mower repair manuals are sought after, paid options offer reliability and comprehensive coverage․ MTD’s official website provides access to genuine manuals, ensuring accuracy and up-to-date information for your specific model․ These manuals often include detailed diagrams, troubleshooting guides, and safety precautions․
Third-party vendors specializing in repair manuals also offer digital and physical copies, often with enhanced features like searchable PDFs and printable formats․ These resources can save time and frustration compared to navigating potentially inaccurate free downloads․
Investing in a paid manual guarantees legitimate documentation and supports MTD’s continued development of quality products and resources․ Consider this a worthwhile expense for successful and safe repairs․
Polymarket and Cryptoprediction Markets (Relevance to Information Seeking)
Interestingly, platforms like Polymarket, a cryptoprediction market, demonstrate a novel approach to information discovery․ While seemingly unrelated to MTD mower repair, the underlying principle – aggregating collective intelligence – mirrors the search for reliable manuals․ Polymarket allows users to bet on the outcome of future events, creating a financial incentive for accurate predictions․
This parallels the user experience of seeking repair information; individuals rely on community forums and shared resources to validate manual accuracy․ Recent coverage highlights Polymarket’s liquidity issues and potential for manipulation, mirroring the risks of relying on unverified free PDF manuals․
Both scenarios emphasize the importance of source credibility and the value of verified information when tackling complex tasks, be it predicting future events or repairing machinery․
Media Coverage of Prediction Markets (Relevance to Information Seeking)
Recent media attention, like Saahil Desai’s piece in The Atlantic, reveals a growing trend: treating prediction markets such as Polymarket and Kalshi as indicators of potential realities․ This has a surprising parallel to the search for MTD riding mower repair manuals․ Just as news outlets might amplify betting odds, online forums can elevate certain manuals as “correct” based on user consensus․
However, Desai warns of the danger of amplifying manipulable odds, a caution directly applicable to free PDF manuals․ Inaccurate or incomplete information, widely circulated, can lead to incorrect repairs and potential damage․
The media’s role in validating these markets highlights the need for critical evaluation – a skill essential when sifting through online resources for reliable repair documentation․
– Finding the Right Resources
Locating a free PDF repair manual for an old MTD riding mower demands a multi-faceted approach․ While the MTD official website and Internet Archive offer valuable resources, success often hinges on precise model number identification and strategic searches on forums like Green Tractor Talk and My Tractor Forum․
Be aware of the risks associated with unofficial manuals, prioritizing accuracy and safety․ Consider paid options if free resources prove insufficient or unreliable․ The current instability of platforms like Polymarket serves as a cautionary tale – information isn’t always trustworthy․
Ultimately, diligent research, critical evaluation, and a willingness to invest in quality documentation will ensure successful MTD riding mower repairs․